Tag Archives: gardening

Adventures in Gardening {Part 3: Planting a Square Foot Garden}

14 May

Square Foot Gardening

To catch up on my gardening experiment, read Part 1: Starting Seeds Indoors and Part 2: Building a Raised Bed.

Fortunately, last weekend I had time to transplant my seedlings into the raised bed! My grids for the square foot garden were already laid out, so it made spacing very easy. Mel Bartholomew came up with this method of garden and I’ve done so much research on square foot gardening, I feel like I’ve read his books, even though I haven’t!

20140514-220303.jpgMy precious little plants waiting to move to their new home!

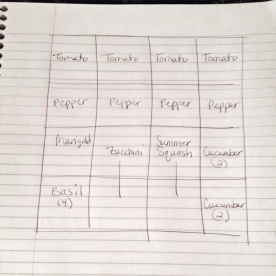
One of the things that everyone says to do in advance is chart out where you want to place your plants in the box. Taller plants should go on the north-side of the garden and smaller plants on the south-side so they aren’t competing for sunshine. I also found that certain plants are “companion” plants and others don’t like to be near each other. For example, I had to be sure to plant my basil away from my cucumbers, because apparently they don’t like strong smelling herbs. Tomatoes, peppers, basil, and marigolds all do really well together.

Here is my plan on paper:

20140514-215509.jpg

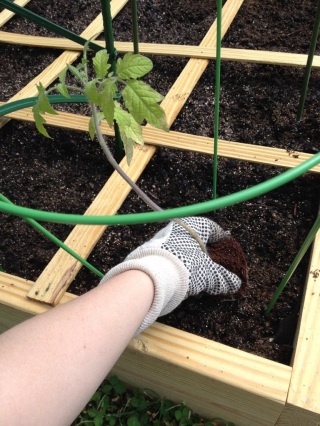
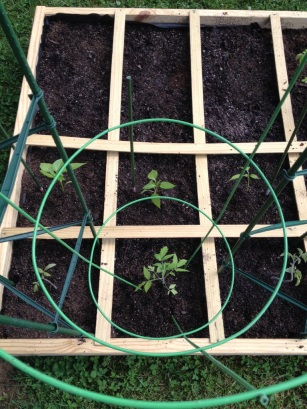
I planted extra tomato and pepper plants in case squirrels try to be sneaky with my food!

20140514-215622.jpgWow, I majorly need some sun! Sorry if my arm is blinding you!

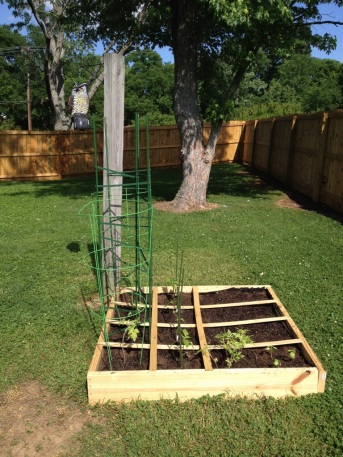
I put in stakes and cages prior to planting, as recommended online so as not to damage the roots.

20140514-220016.jpg

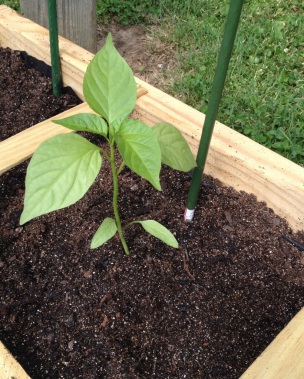
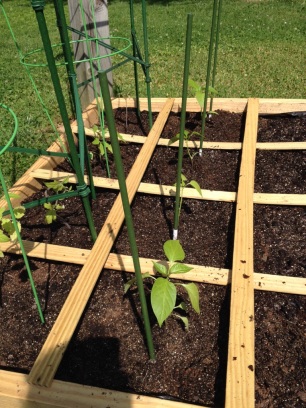
20140514-215751.jpgMy pepper plants have been doing so well so far. I hope they continue on like this!! Grow, grow!

20140514-215722.jpg

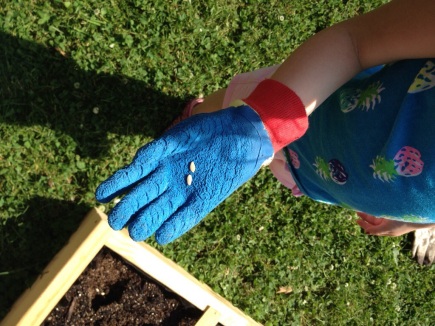
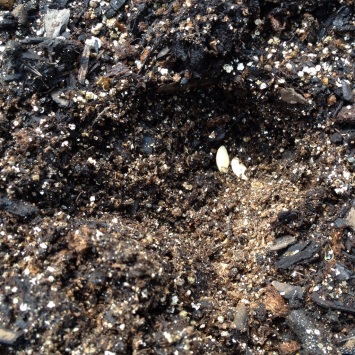
My girls helped me directly sow the zucchini, squash, and cucumber seeds. We had a good bit of rain on Wednesday and most of the cucumber plants have sprouted already! Now, I’m going to have to figure out how to trellis these guys to grow vertically so they don’t take over my garden!

20140514-220104.jpg

20140514-215925.jpg

20140514-215808.jpg

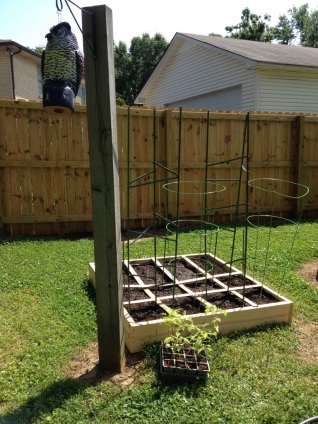
And here is my plan made 100% reality in my little 4×4 square foot garden:

20140514-215951.jpg

Hopefully, my guardian owl will scare little critters away!

20140514-215938.jpg

I can’t wait for these plants to start producing fruit and vegetables! Now I need to research how to harvest!

 Anybody else out there gardening this year (or has in the past)? What vegetables or fruits have you had the most success growing?

What’s Keeping Me Away From My Blog? {7 Quick Takes #13}

28 Mar

I’ve been itching to spend more time writing and reading others’ posts this month, but so much has been going on! And work started getting a little crazy a couple weeks ago so my brain is on overload right now! Happy to be joining Jen and co. for some Quick Takes!

I decided to share what has been keeping me so busy in March (and it wasn’t just filling out my tournament bracket)!

{1}

One of the main things that I have been devoting my time to recently is helping my husband get his website going! He finally has a little space on the internet! There are a couple songs on there, but they still need to mastered and all. I’m just excited that adamshickmusic.com is live! AND I’m excited that the logo I created over a year and a half ago is being put to use!

Adam Shick Music


{2}

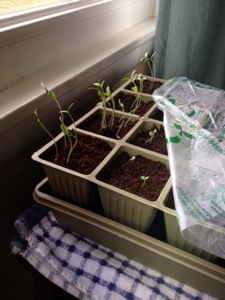
So far most of the seeds that I started indoors have sprouted! When I took this photo last week, I was still waiting on more than half of them to pop out! I spent a lot of time researching before committing to starting a small raised-bed organic vegetable garden this year, so that definitely consumed time at the beginning of the month.

20140328-194349.jpg


{3}

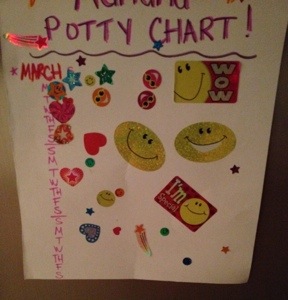
 As you can see below, my attempt at nicely organizing our almost 3-year-old’s potty progress throughout the month of March was quickly abandoned! After a stubborn stretch of not wanting to go, she turned a corner yesterday and decided that she really wanted to wear her princess underwear! Let’s hope it continues! 20140328-194237.jpg


{4}

One of my goals for the beginning of 2014 was to add some more flair to my home decor, so that our house feels extra welcoming and joyful. After having two babies in the past 5 years, I really haven’t had time to care too much about how the house looks! I made the kitchen wall decor below with scrapbook paper and utensil vectors I found on the internet for free!

20140328-194251.jpg


{5}

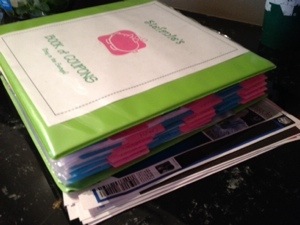
Every week consists of cutting and filing coupons and checking out great sales at Kroger and Publix. Ya know, making sure the family has food to eat is kind of essential on the priority list! And so is saving money! I did score 2 4-packs of toilet paper for 10 cents each and Huggies wipes for 20 cents each among other deals this week!

20140328-194124.jpg


{6}

We have also been working on getting our oldest daughter into Kindergarten at a nearby Catholic school. She was accepted earlier this month! I plan to post more on our decision making process regarding her education soon…

{7}

Although so much has been going on, I have to give major props to my rock star husband! He is with the girls often during the day before he goes to work in the evenings and I don’t know what I’d do without him!

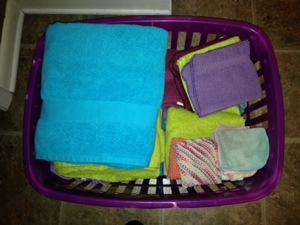
See these towels below?! Yeah, he folded these for me!

20140328-183039.jpg

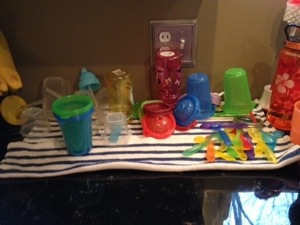
See the dishes below? Adam hand-washed those. (Something he does regularly I might add!)

20140328-183132.jpg

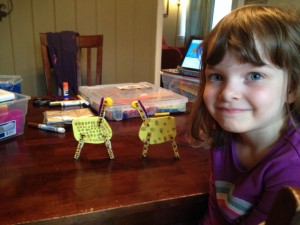
Oh! And he also knocked out some arts and crafts with the girls this week! He found this little project all on his own! He sent this photo to me while I was at work!

20140328-183249.jpg

~

My life is full and I am blessed! Now hopefully in April I’ll be able to squeeze in A LOT more time following my blogroll and writing these posts ideas that are piling up! Have a great weekend!


Adventures in Gardening {Part 1: Starting Seeds Indoors}

15 Mar

Starting Seeds Indoors

My long-time dream of starting a vegetable garden is underway! As my (almost) three-year-old likes to say, “We’re making a kindergarten!”

After doing A LOT of research on raised beds, square foot gardening, and vegetables, I now know Nashville’s last frost date (April 30th) and terms such as “germination”, “thinning out”, “hardening off”, and “damping off”! I may know how to talk a good gardening game now, but given my track record with plants, growing a successful garden is going to be very challenging! Let’s just say that I  have fake flowers in the nice planter on my office desk because someone *ahem* did not water the real plant very frequently. Even the dog’s dish gets a little too low on water sometimes!

I’m taking a huge risk in documenting my gardening adventures! I may fail miserably or this underdog could prove that anyone can start a garden! Today, I’m posting about our first step in growing organic vegetables – starting seeds indoors!

First of all, here are a few reasons to start certain seeds indoors instead of directly sowing them into the garden bed:

1. It’s cheaper to buy seeds than transplants.
2. Plants are often healthier when started from seedlings.
3. It’s a way to get a head-start before the official frost-free date for an earlier harvest!
4. The kids can watch the seedlings sprout!
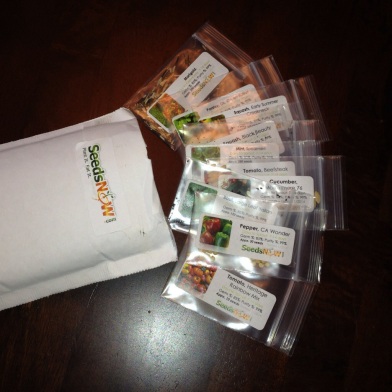
seedsnow.com seeds

At the end of last week, my Non-GMO seeds arrived in the mail from SeedsNow.com! I researched a few different seed catalogs online, but settled on SeedsNow since they sold $.99 sampler packs of 100% Non-GMO seeds and these non-hybrid seeds can be used from these plants after harvest in future years.  I’m only planting a 4×4 raised bed and couple containers of herbs, so I knew I didn’t need to spend extra money on a packet of 300 seeds. I spent about $10 on 10 different kinds of seed packets.
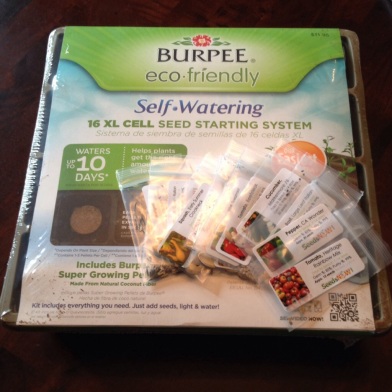
Burpee Self-Waterking Kit and SeedsNow.com seeds

I bought a self-watering seed starting kit to start growing my tomato, pepper, basil, mint, and marigold seeds indoors. Some of the other vegetable seeds can, and should, be planted directly in the ground once any risk of frost is gone. Seeds can be started indoors using yogurt containers and egg cartons, but given my poor watering habits, I figured anything that can help me consistently water my little seedlings would be a smart move! I need all the odds in my favor that I can get. This Burpee kit cost just under $12 at Home Depot.
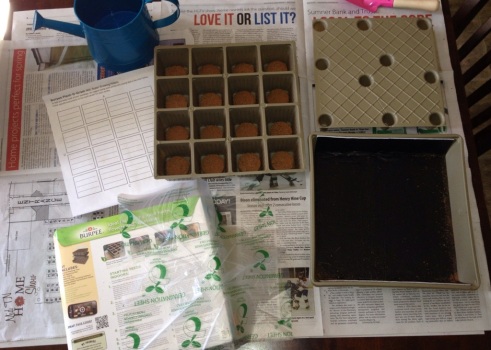
Burpee Self-Watering System

This kit comes with a tray with seed-starting pellets, a watering mat, another tray to hold the water, a germination cover, and a paper  grid to keep track of where seeds are planted.

Pellets in Tray

Here’s a close-up of the pellets that will expand when water is added. I bought an XL cell kit, because I knew that the tomato plants needed room to grow, so I thought I might be able to avoid transitioning them into bigger containers prior to planting them outdoors in the raised bed. We’ll see…
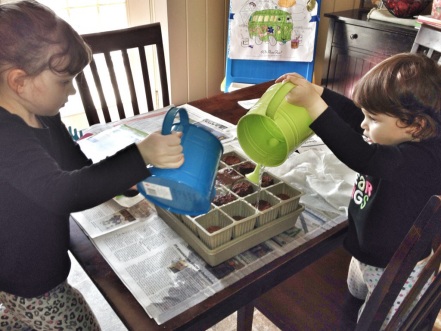
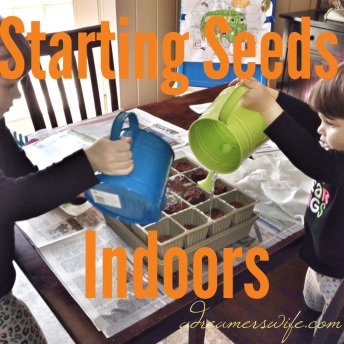
Girls watering pellets

I let the girls use their new watering cans to add water to the pellets. They expanded quickly! (What you don’t see in this picture is the huge puddle of water at my feet after Little A energetically dumped all of the water out of her can. After quickly wiping her chair down, we tried it again!)
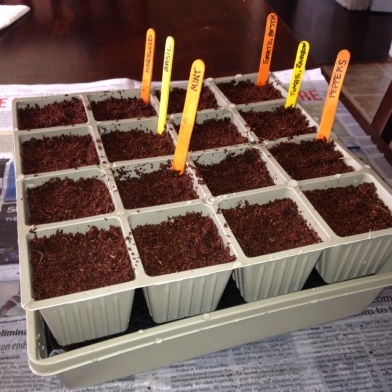
Seeds planted in tray indoors

Here is a close up of my tray after all of the seeds were planted in their cells. I used a pencil to create little holes for the seeds. I then added two seeds to each hole. (Let me tell you that mint seeds are nearly impossible to pick up – even with tweezers I had a hard time!) I made these nice, easy little popsicle stick labels before remembering that I would need to put the germination sheet on top!

seed tray

I used this handy plant-o-gram sheet that was included in the kit to keep track of where I planted everything, though!
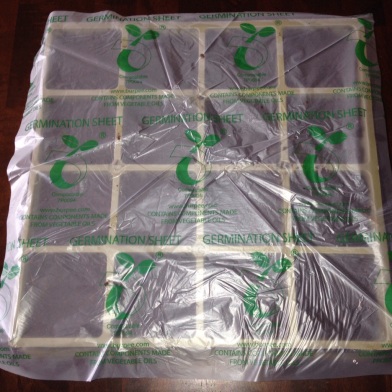
Seed Tray with Germination Sheet

To help the seeds germinate and sprout, warm soil is needed. I used an inexpensive tip from another website that suggested putting a heating pad in between two towels on a cookie sheet to create a heat mat. I really didn’t want to purchase an expensive seed heating mat and thermostat to be used for only 1-2 weeks. We make sure to turn off the heating pad at night and when we’re out of the house.

Once sprouts come out of the soil, I will move the tray to a sunny window where we get lots of direct light. The germination sheet will no longer be needed!

The next post will be an update on how the seedlings are doing and what my plans are for the layout of our garden! If you are a gardener, feel free to leave any tips that you have!

~

Keep Your Change

This has been part of my Keep Your Change series. For more money-saving posts, click here!