
My long-time dream of starting a vegetable garden is underway! As my (almost) three-year-old likes to say, “We’re making a kindergarten!”
After doing A LOT of research on raised beds, square foot gardening, and vegetables, I now know Nashville’s last frost date (April 30th) and terms such as “germination”, “thinning out”, “hardening off”, and “damping off”! I may know how to talk a good gardening game now, but given my track record with plants, growing a successful garden is going to be very challenging! Let’s just say that I have fake flowers in the nice planter on my office desk because someone *ahem* did not water the real plant very frequently. Even the dog’s dish gets a little too low on water sometimes!
I’m taking a huge risk in documenting my gardening adventures! I may fail miserably or this underdog could prove that anyone can start a garden! Today, I’m posting about our first step in growing organic vegetables – starting seeds indoors!
First of all, here are a few reasons to start certain seeds indoors instead of directly sowing them into the garden bed:
1. It’s cheaper to buy seeds than transplants.
2. Plants are often healthier when started from seedlings.
3. It’s a way to get a head-start before the official frost-free date for an earlier harvest!
4. The kids can watch the seedlings sprout!
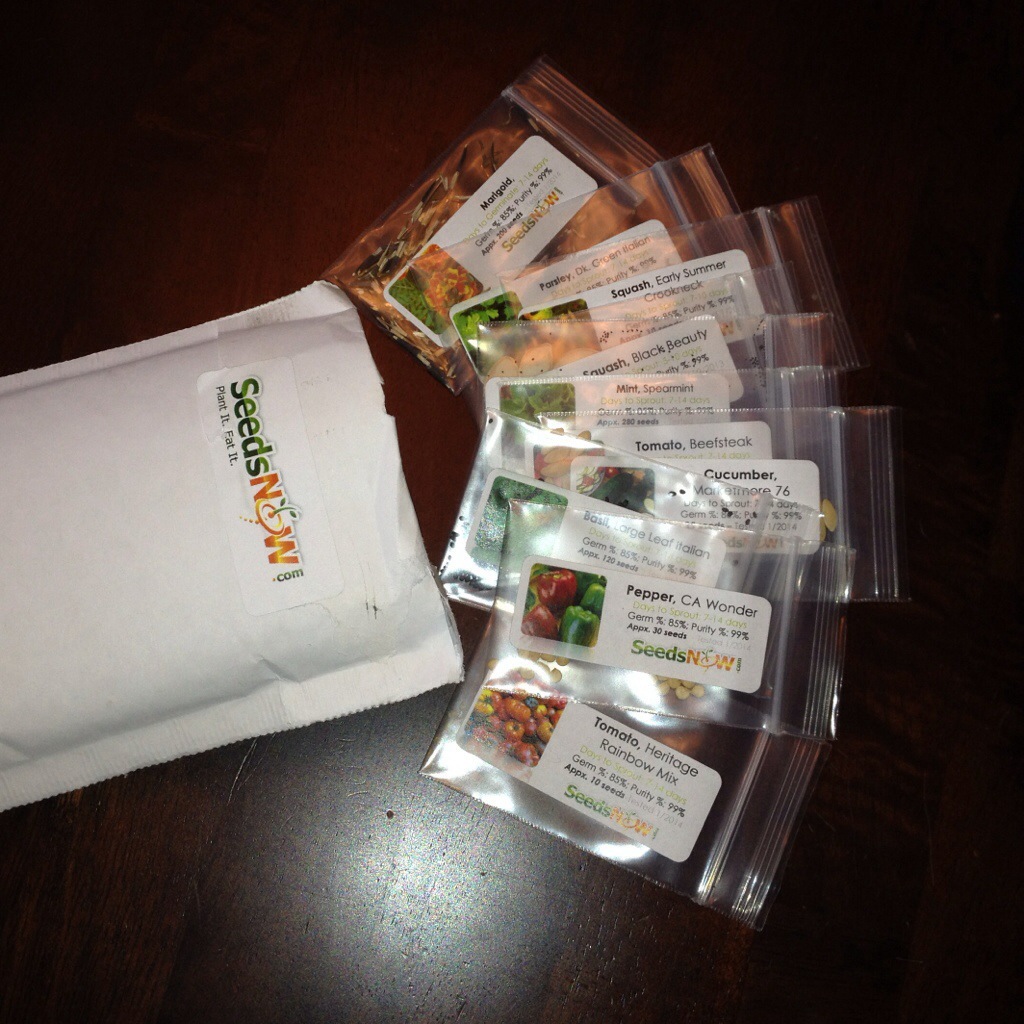
At the end of last week, my Non-GMO seeds arrived in the mail from SeedsNow.com! I researched a few different seed catalogs online, but settled on SeedsNow since they sold $.99 sampler packs of 100% Non-GMO seeds and these non-hybrid seeds can be used from these plants after harvest in future years. I’m only planting a 4×4 raised bed and couple containers of herbs, so I knew I didn’t need to spend extra money on a packet of 300 seeds. I spent about $10 on 10 different kinds of seed packets.
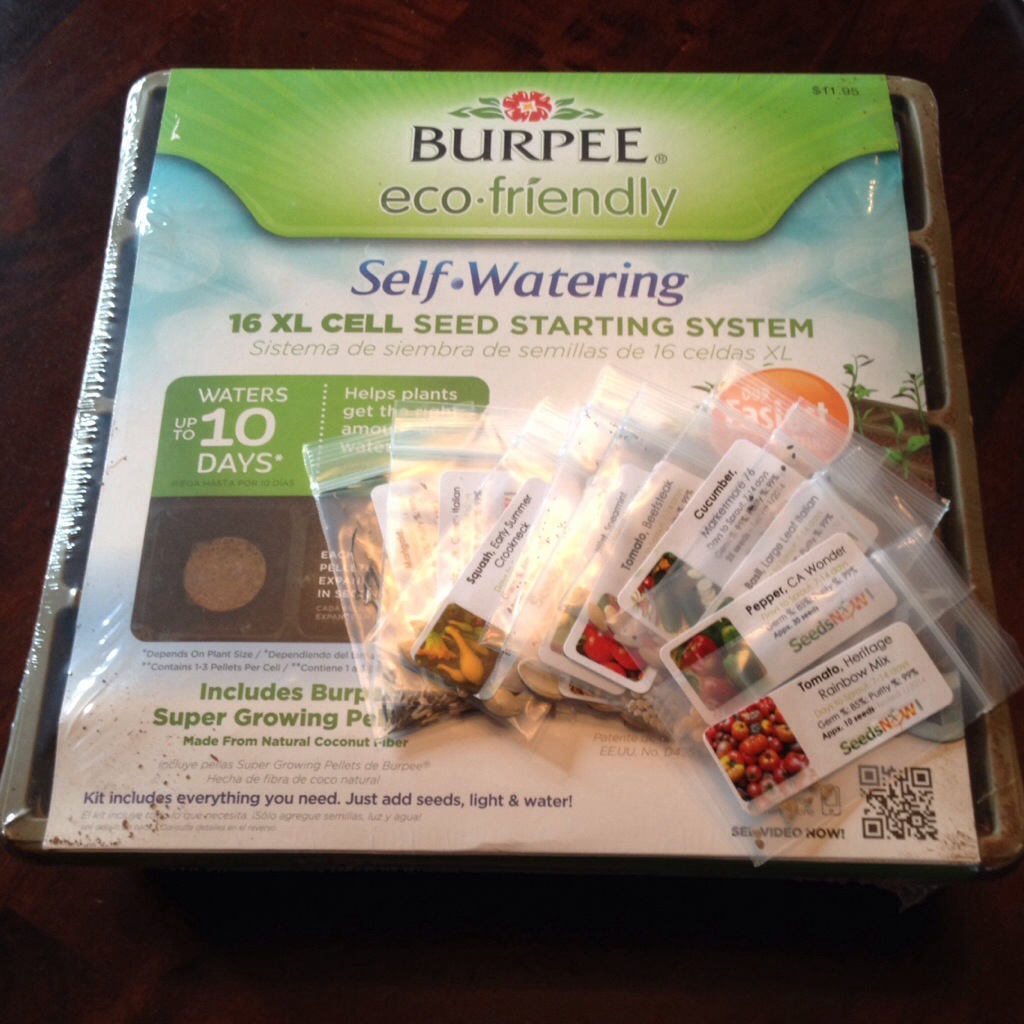
I bought a self-watering seed starting kit to start growing my tomato, pepper, basil, mint, and marigold seeds indoors. Some of the other vegetable seeds can, and should, be planted directly in the ground once any risk of frost is gone. Seeds can be started indoors using yogurt containers and egg cartons, but given my poor watering habits, I figured anything that can help me consistently water my little seedlings would be a smart move! I need all the odds in my favor that I can get. This Burpee kit cost just under $12 at Home Depot.

This kit comes with a tray with seed-starting pellets, a watering mat, another tray to hold the water, a germination cover, and a paper grid to keep track of where seeds are planted.

Here’s a close-up of the pellets that will expand when water is added. I bought an XL cell kit, because I knew that the tomato plants needed room to grow, so I thought I might be able to avoid transitioning them into bigger containers prior to planting them outdoors in the raised bed. We’ll see…

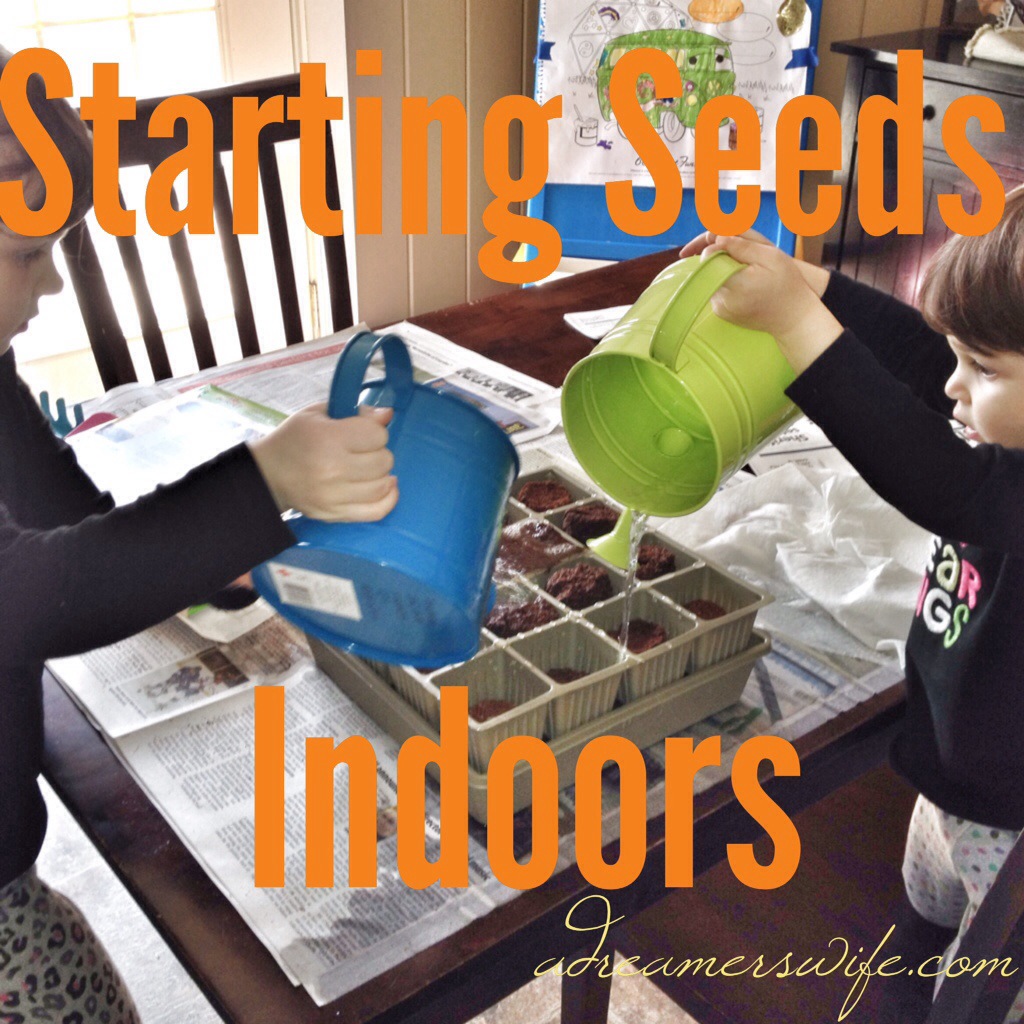
I let the girls use their new watering cans to add water to the pellets. They expanded quickly! (What you don’t see in this picture is the huge puddle of water at my feet after Little A energetically dumped all of the water out of her can. After quickly wiping her chair down, we tried it again!)
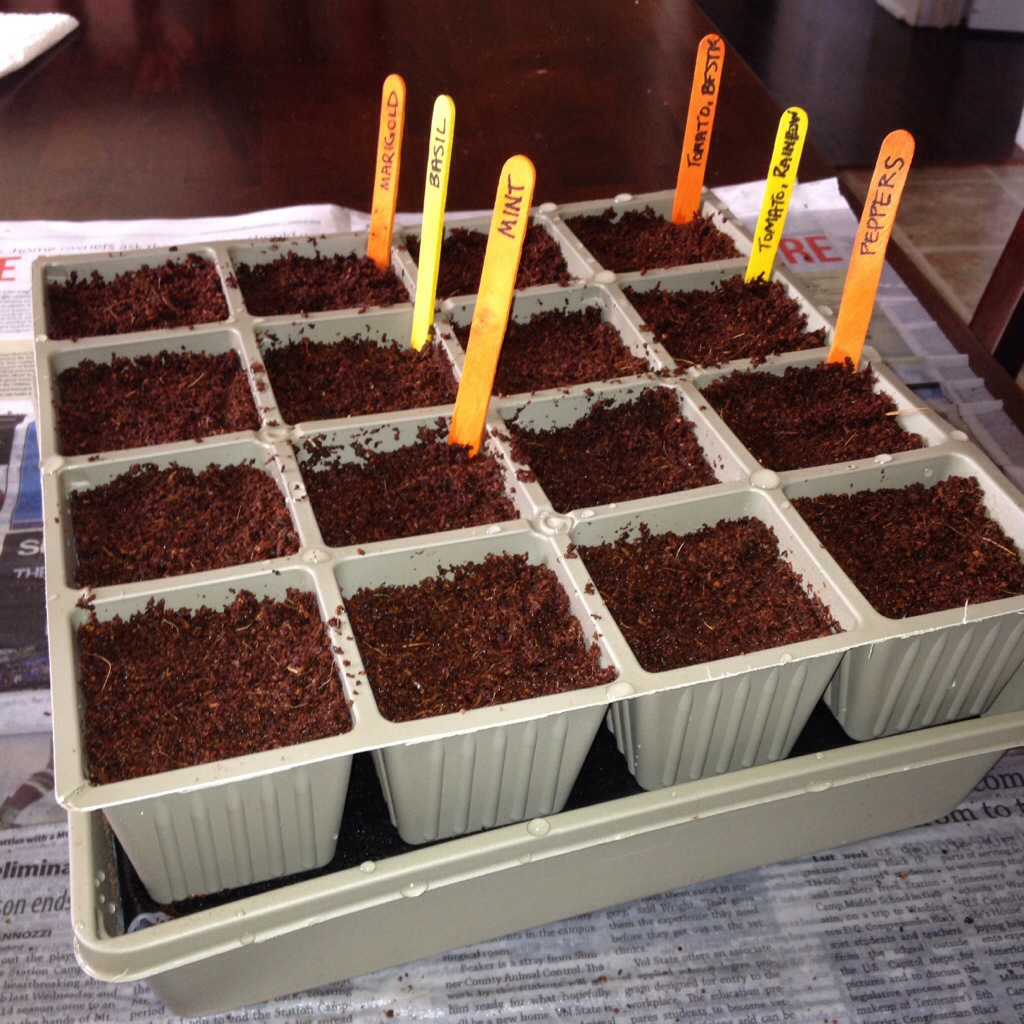
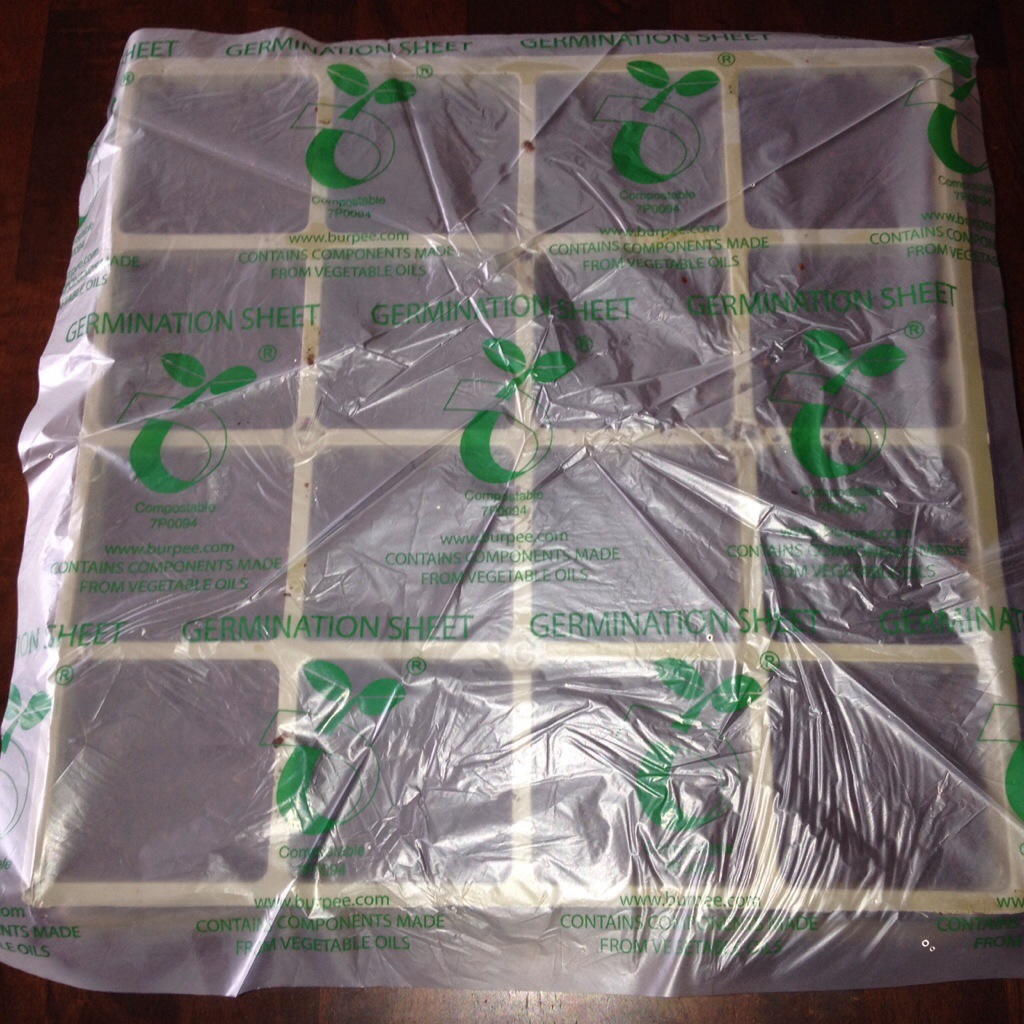
Here is a close up of my tray after all of the seeds were planted in their cells. I used a pencil to create little holes for the seeds. I then added two seeds to each hole. (Let me tell you that mint seeds are nearly impossible to pick up – even with tweezers I had a hard time!) I made these nice, easy little popsicle stick labels before remembering that I would need to put the germination sheet on top!
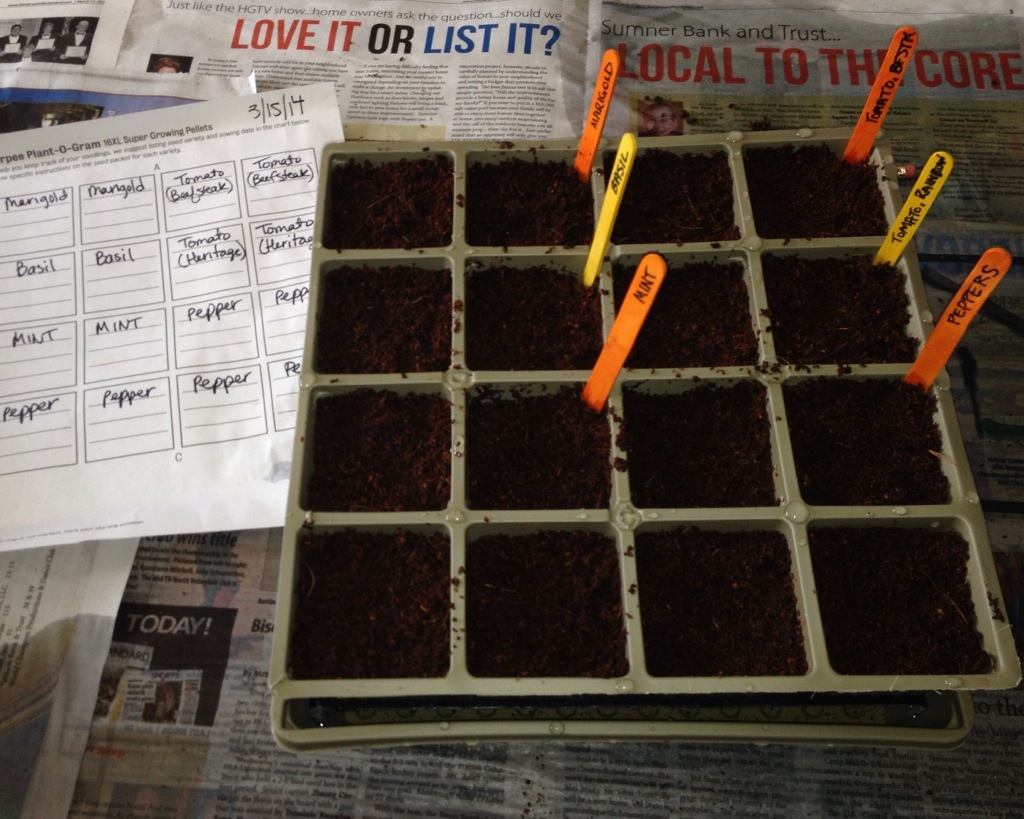
I used this handy plant-o-gram sheet that was included in the kit to keep track of where I planted everything, though!
To help the seeds germinate and sprout, warm soil is needed. I used an inexpensive tip from another website that suggested putting a heating pad in between two towels on a cookie sheet to create a heat mat. I really didn’t want to purchase an expensive seed heating mat and thermostat to be used for only 1-2 weeks. We make sure to turn off the heating pad at night and when we’re out of the house.
Once sprouts come out of the soil, I will move the tray to a sunny window where we get lots of direct light. The germination sheet will no longer be needed!
The next post will be an update on how the seedlings are doing and what my plans are for the layout of our garden! If you are a gardener, feel free to leave any tips that you have!
~

This has been part of my Keep Your Change series. For more money-saving posts, click here!


You’re right, there’s a ton of terminology associated with gardening. It’s such a learning curve, but so worth it!
Great article on gardening. Don’t worry about failure, like Michael Jordan said, “I never learned a thing from the shots I made.” My wife and I are revisiting our oft failed garden effort here in the woods on the West Coast of Nashville (Joelton). Please keep us in the loop.