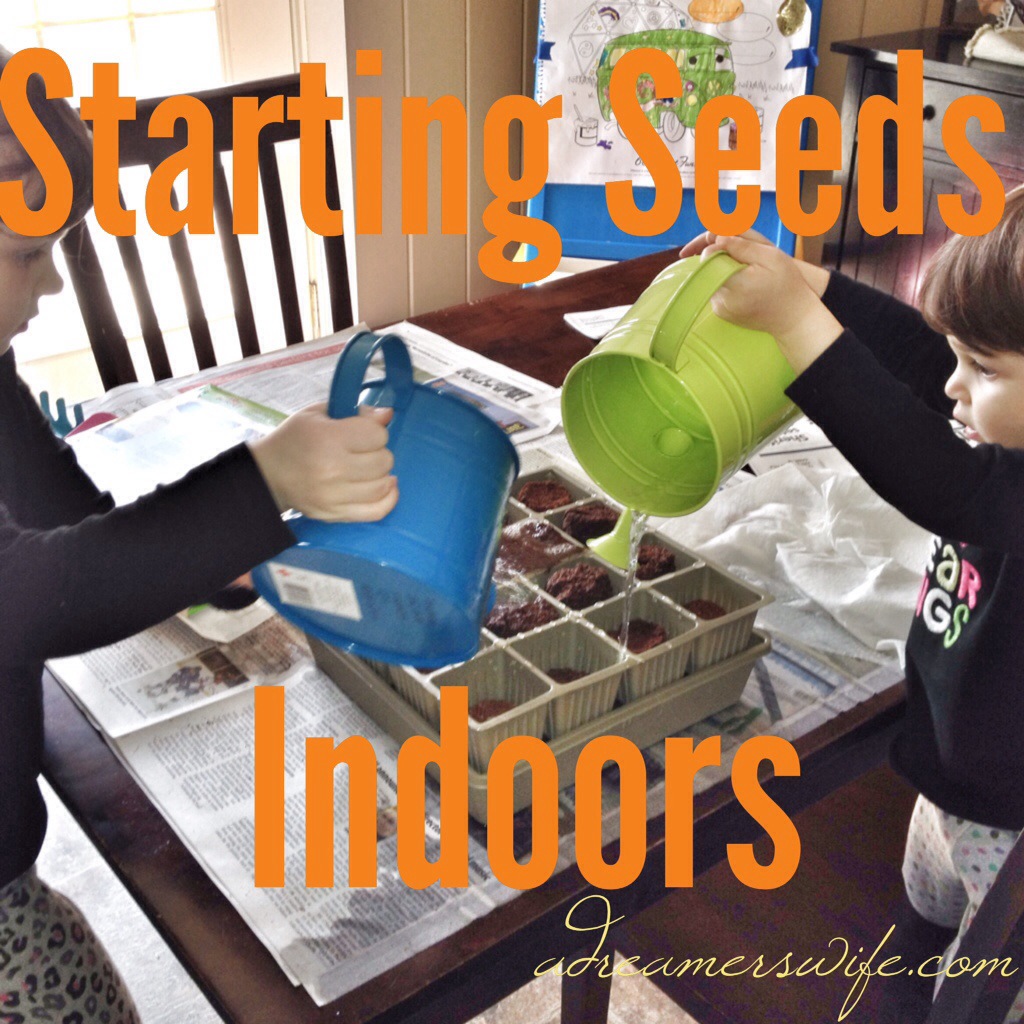

The last official frost date for Tennessee was April 30th, so that means that my little seedlings that I started indoors need to be transplanted! Last Sunday, my husband built the 4 x 4 raised bed and I prepared the soil. Unfortunately, I ran out of time to actually plant the seeds and seedlings but I’m trying to work on that this weekend as long as it doesn’t storm the whole time!
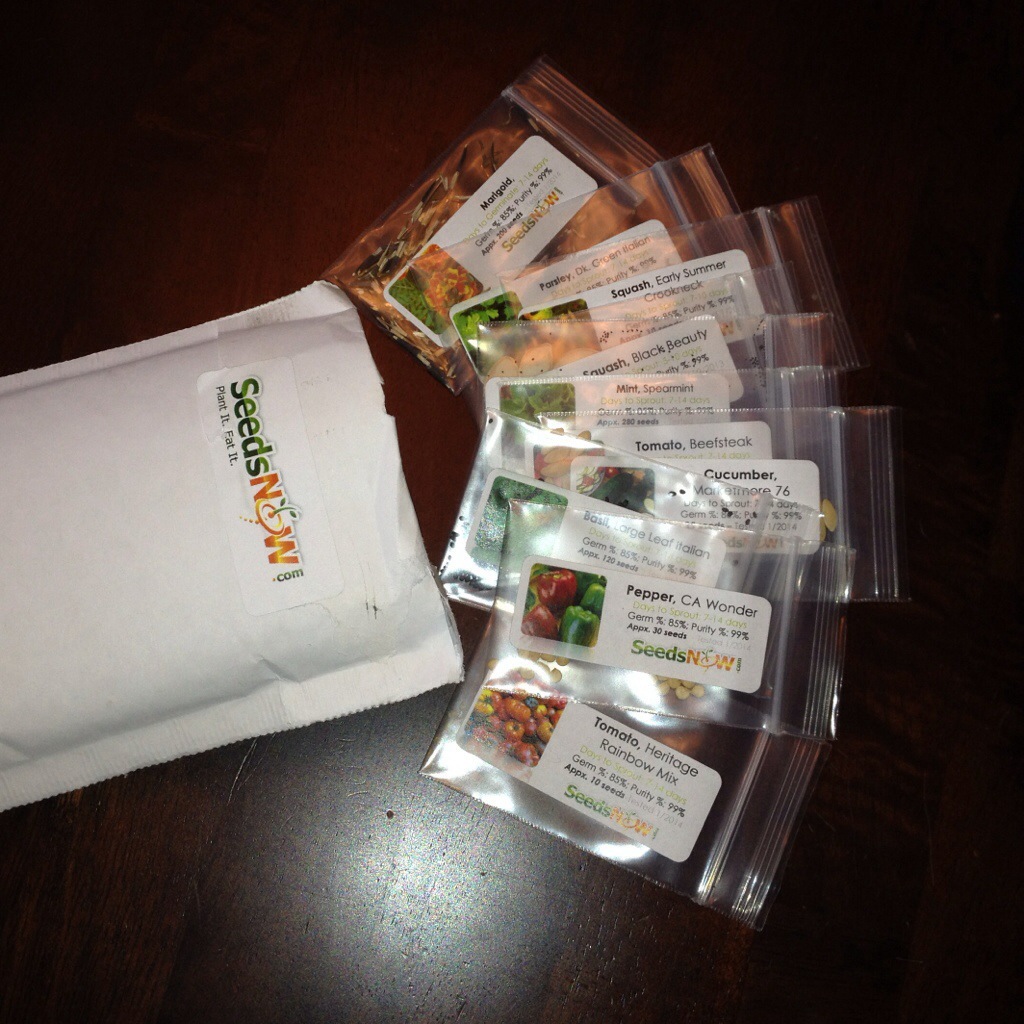
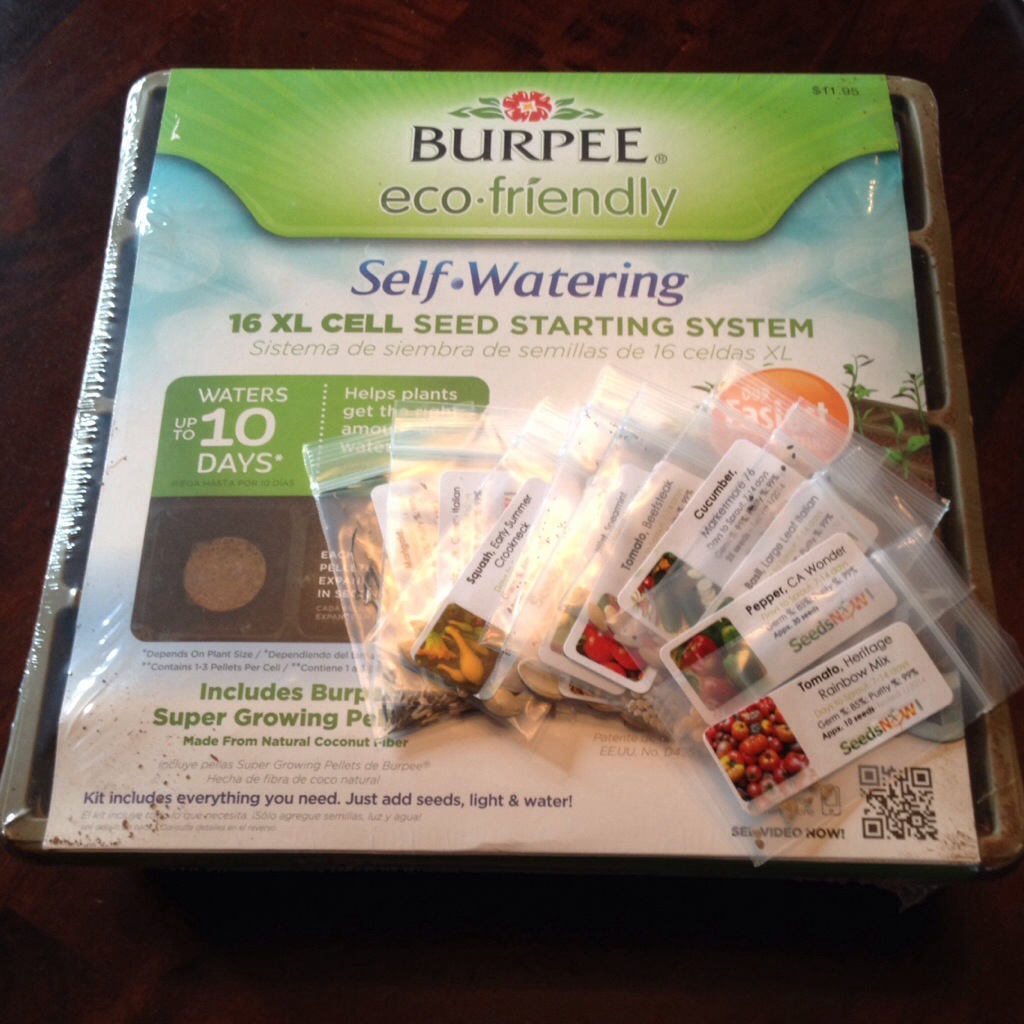
Please note: I am a first-time gardener! I’ve done a lot of research, but I’m obviously learning quite a bit as I go along. If you have any tips, feel free to share!
Here is a little overview of this step in my gardening adventure:
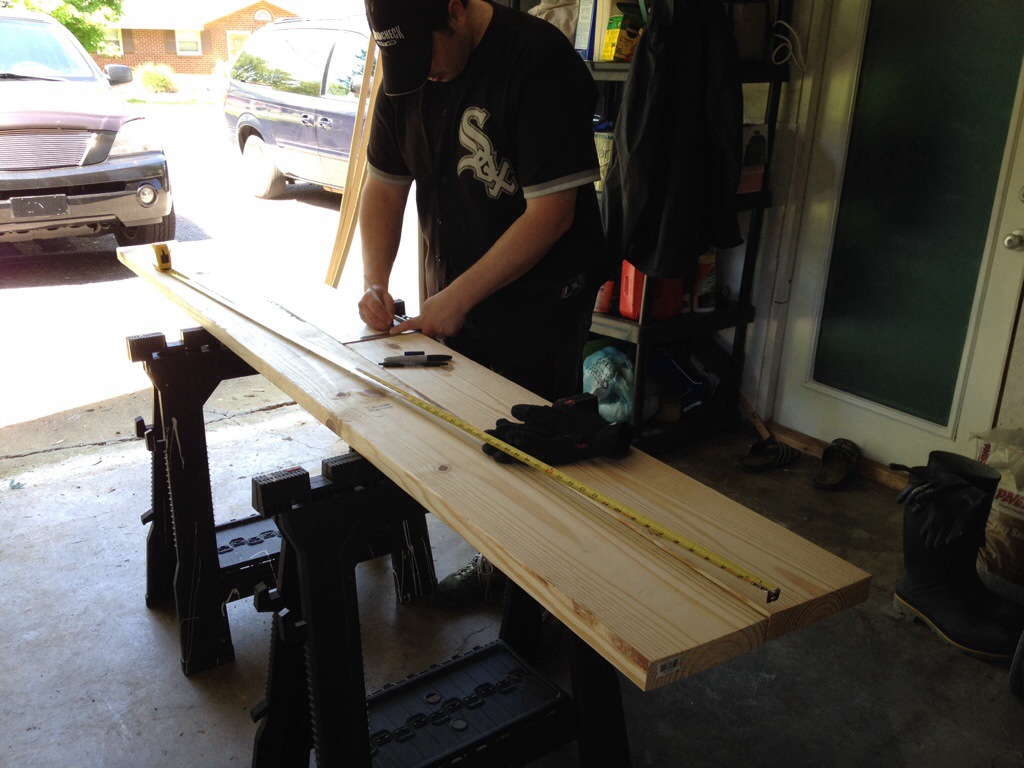 Adam bought some non-treated lumber to build my 6″ high bed. It cost about $16 for the materials.
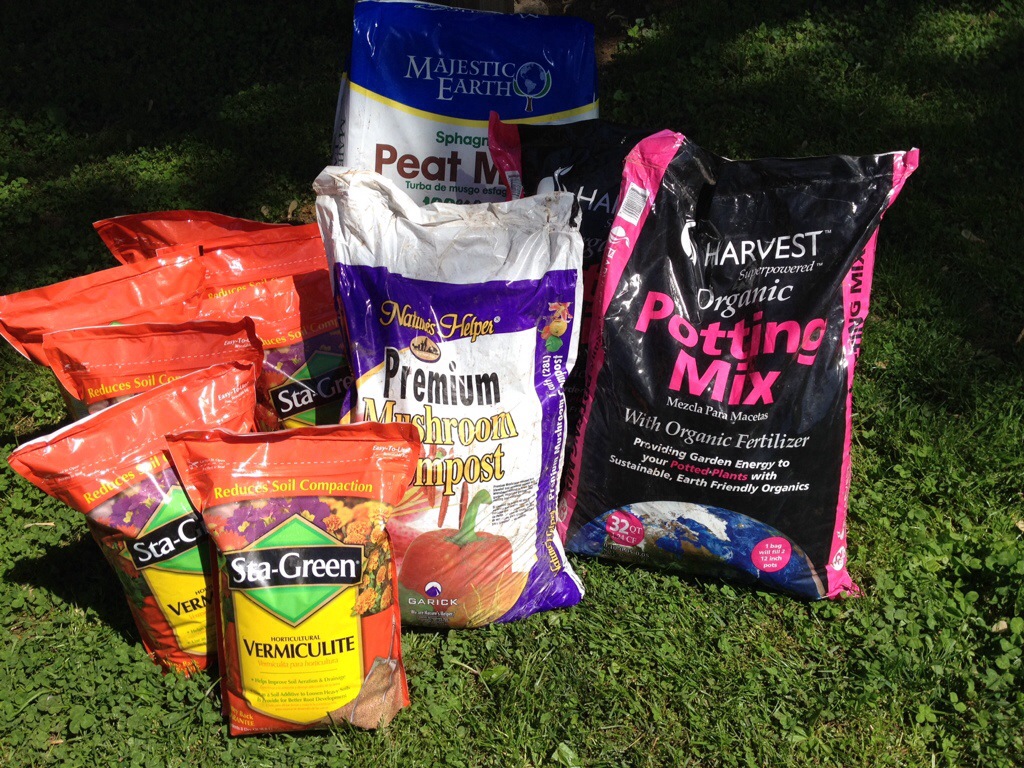 This is what I used for my soil. (WARNING – Don’t buy the red bags… read on for why.) Mel Bartholomew, the creator of Square Foot Gardening, advises a mix of 1/3 Coarse Vermiculite, 1/3 Sphagnum Peat Moss, and 1/3 Blended Compost. I didn’t pay attention to the grade of vermiculite and was just happy that I found some at Lowe’s, so these red bags actually consist of fine-grade vermiculite. I had already mixed it before realizing the necessity of coarse vermiculite. We’ll see what happens this summer with the plants… I spent about $60 to create the soil mix. (Oh, and there is a special square foot gardening soil available, but I would have had to spend double just to ship the darn bags because they weren’t available in any of the Home Depot stores in Middle Tennessee. You may be one of the lucky ones that lives near a store that carries it, though! The cost of the pre-made soil is about the same as mixing it yourself.)
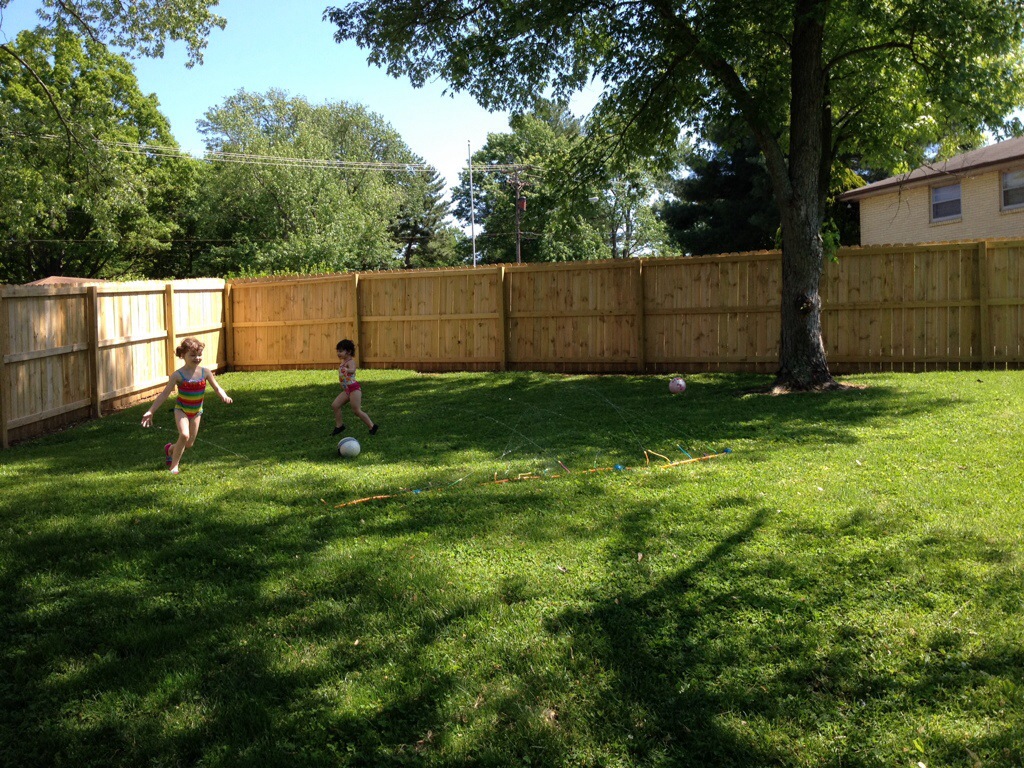 It was such a beautiful day! The girls played in the sprinkler while we worked!
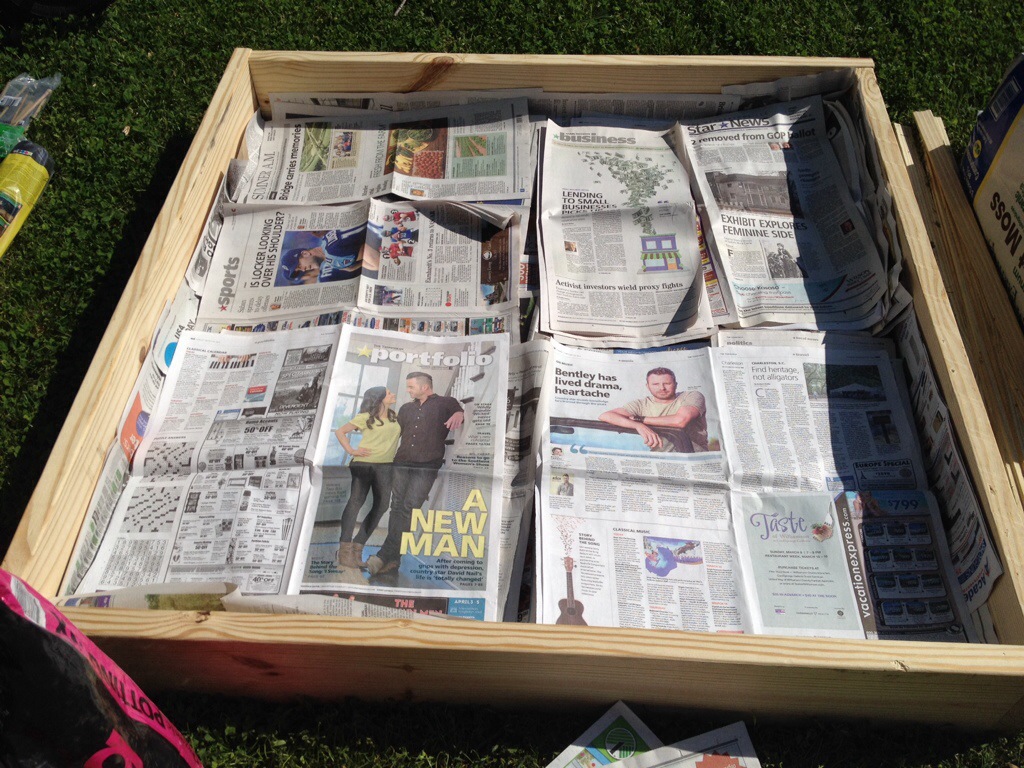 I read somewhere online that newspapers could be laid down in the yard as opposed to clearing out all of the grass first. (Can you tell we live in Nashville by the newspaper photos – Titans coach, David Nail, Dierks Bentley?) One of the strong points of building a raised bed is that it is supposed to be free of weeds! I’m all about less hassle gardening!
 To help minimize the chance of weeds, I put down some weed block over the newspaper. It cost about $10 for a roll. Also pictured above, are the three types of soil needed for a successful square foot garden! The only thing that will need to be replaced each year is the compost (as long as my fine vermiculite works out okay – fingers crossed)! Oh, and if anyone needs organic peat moss let me know! It was compressed and doubled in size once opened, so I have a ton left over!
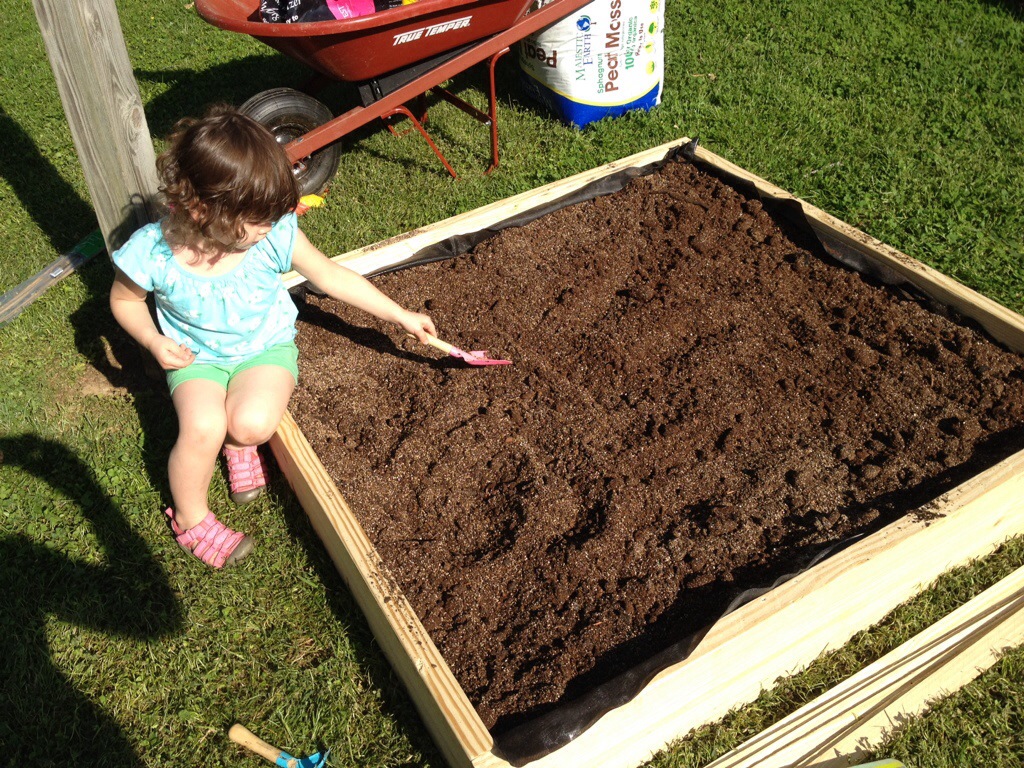 Here is all of the soil mixed together! My youngest wanted to help too! It basically looks like a big sandbox, so what kid wouldn’t?!
A 4×4 bed is supposed to hold about 7.5 cubic feet (2.5 cubic ft of each potting soil element). I still have some room in my box, so I’m thinking about trying to find some coarse vermiculite and to add with a little more compost and peat moss.
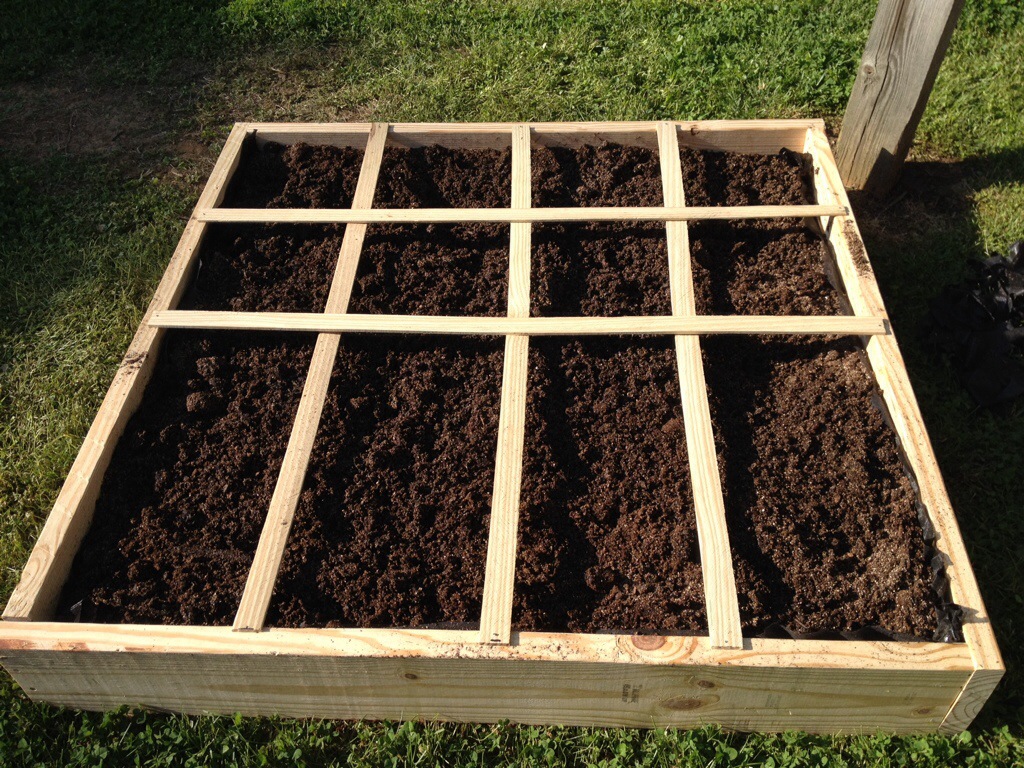 I nailed plywood down to make 12″ grids, which is a highly recommended part of square foot gardening. I purposely left one marker off, because two of my squash plants will take up the space of two squares instead of one.
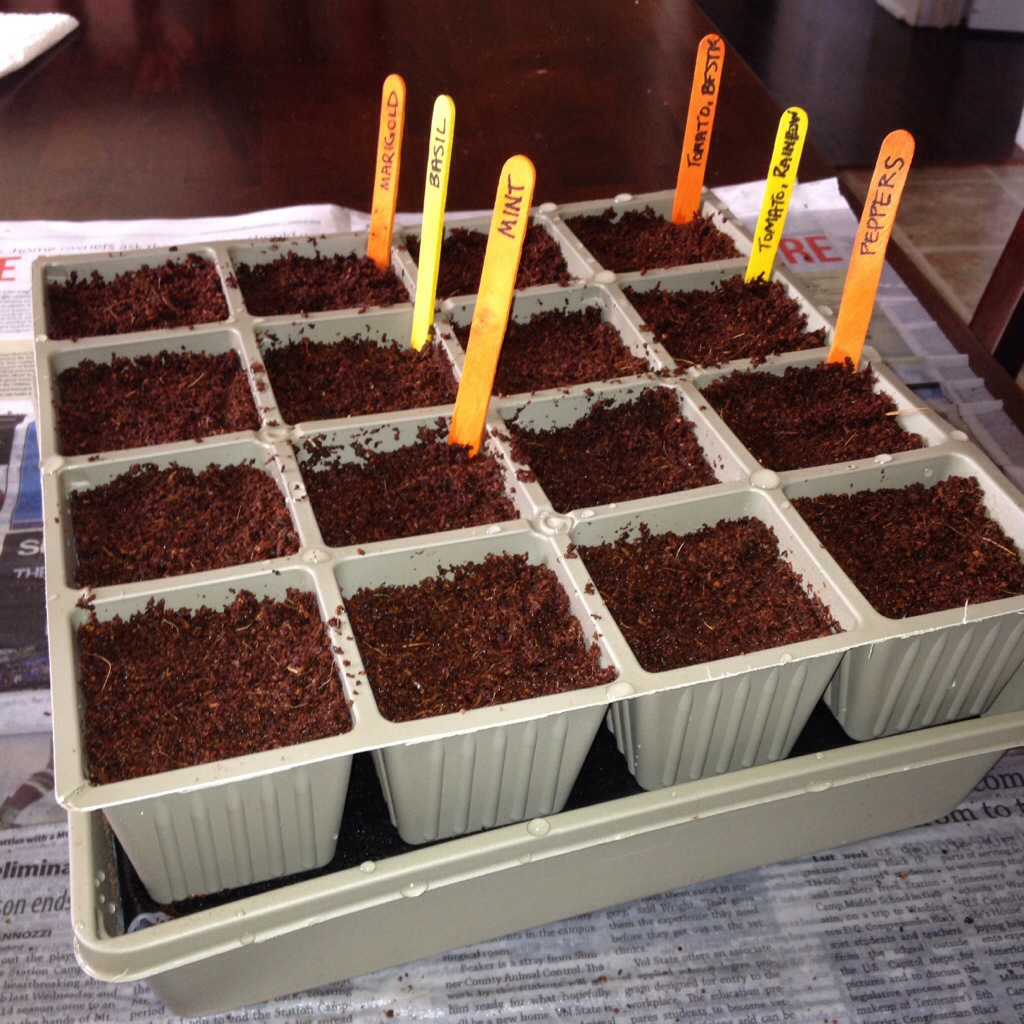
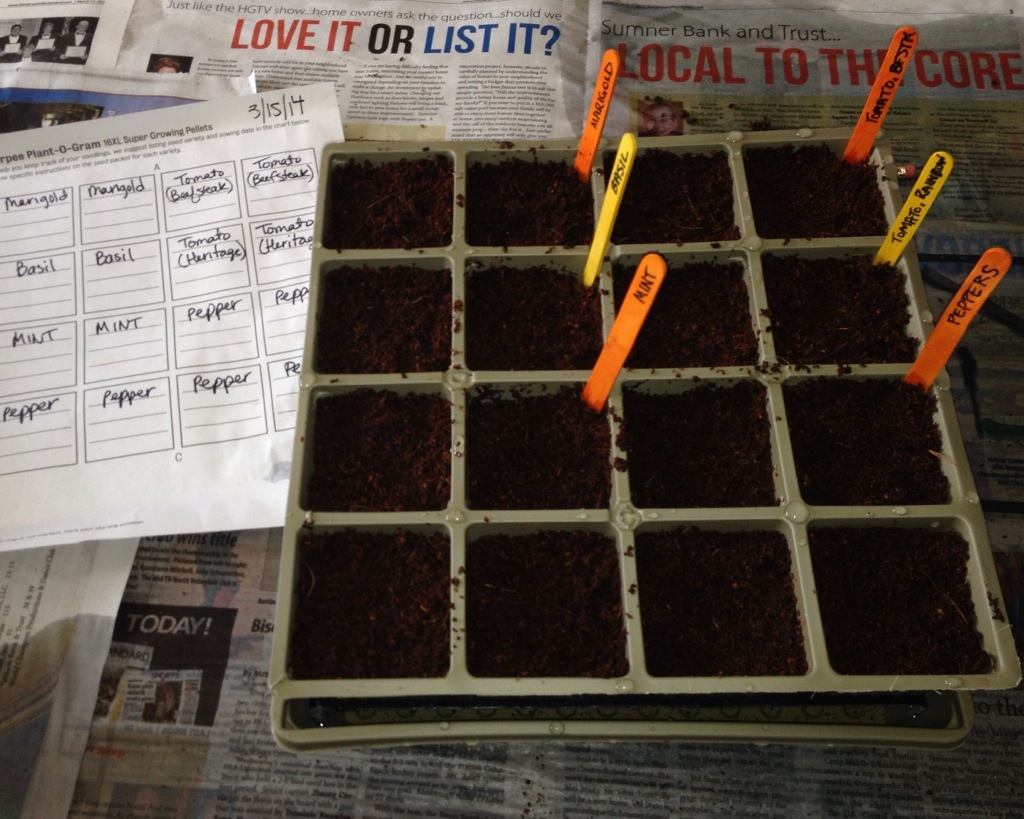
 Here are my seedlings hardening off outside and patiently waiting to be planted… they’re still waiting! I had too many long days at work this week and not enough time to plant! My tomato plants, especially, are dying to be transplanted!
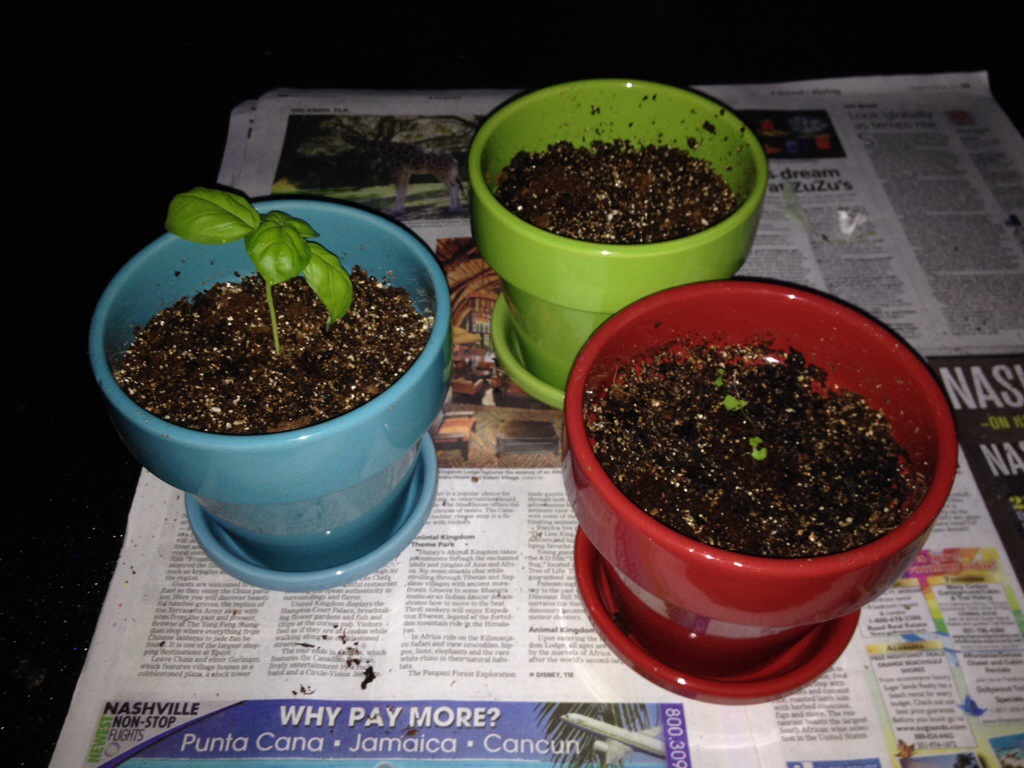 I did manage to transplant a basil plant and a tiny mint plant to these two front containers. As you can see it’s dark outside in this photo! I finished with a few minutes of daylight left Sunday night! I planted parsley in the back green pot. It’s supposedly really hard to germinate and grow from seed, so we’ll see. It doesn’t hurt to try!
I’ll be posting Part 3 of this series soon! If you missed the first step in this adventure, read Part 1: Starting Seeds Indoors.