I’ve been sharing recently about how Adam and I are getting our house ready to sell. One of the weak points of our house is the worn kitchen countertops. We’ve already put so much money into the rest of the house over the course of the past five years, that we decided that it isn’t worth it to replace the counters.
We didn’t want to give potential buyers an obvious reason to not consider the house, though, so I, somewhat impulsively, decided to update them in a kind of unconventional way. Thanks to several blog posts about painting faux granite countertops from other crafty individuals, like Tracy, Kelli, Kristi, and Kristy, who have done this rather successfully, I got up the courage to attempt this myself…

Items Used:
-Painter’s tape
-1 Quart Kilz Primer (only used about 1/4 of it!)
-Foam brush
-4 inch foam roller
-4 inch paint tray (Nifty tip – line paint tray with foil , then throw away. No clean up!)
-Acrylic craft paint (I used 8 oz. black mixed with 2 oz. of Metallic black and 2 oz. gray and 2 oz. metallic bronze)
-Envirotex Lite (I used 40 oz. total)
-Small bucket/paint stirrer
-Large putty knife
-Plastic drop cloths/newspaper
-Vinyl gloves
-Plastic grocery bag and/or artist sponge(s)
-Paper plates
5 Steps to Faux Granite Countertops!
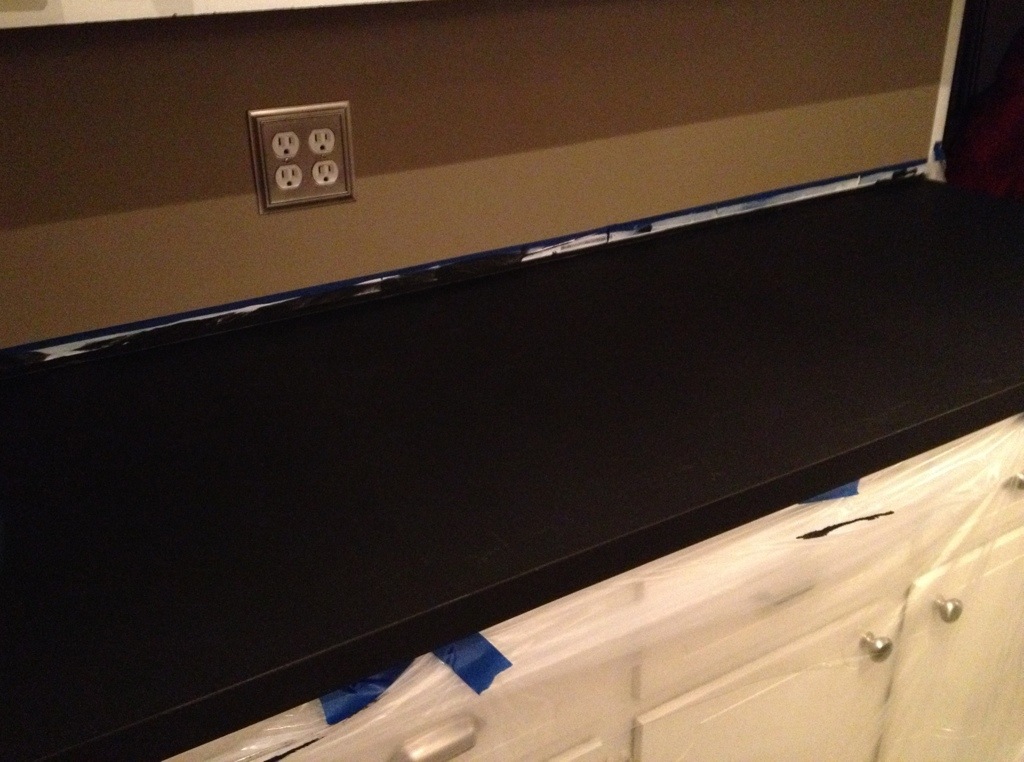
1. I taped off walls and the sink and primed the clean countertops with Kilz.

2. I mixed 2 oz. of the Folk Art metallic black paint with 8 oz. of the black acrylic and rolled this color on as my base. I used a small foam brush to get around the sink and close to the walls. Prior to painting, I made sure to cover the cabinets with plastic drop cloths, which was especially important for step #4.

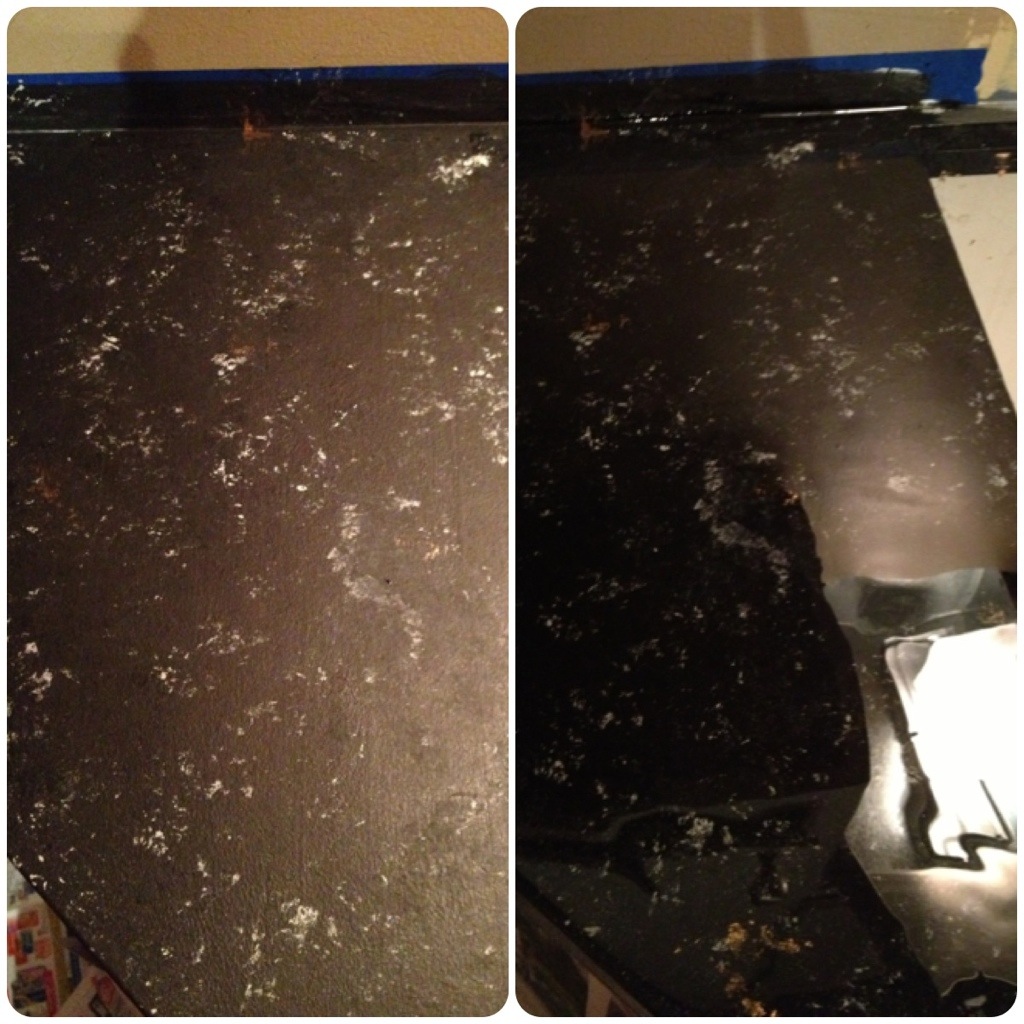
3. Then, the fun part – sponging on the paint! Using a wadded-up plastic grocery bag, I lightly pounced the gray acrylic randomly over the surface. I then added black. I repeated this process with the same colors again. I started using an artist sponge with the black so it covered better. (I wanted a primarily black countertop with a marble-y look.) I used a small artist sponge and sparingly dabbed some of the metallic bronze paint. I used very little of the paint in this bottle. I sponged over all of the colors again with black and added a little more gray in some areas to add some contrast.
Giani Granite has some good tutorials on how to sponge on paint. I agree with them that adding on another layer while the previous color is still wet, gives the counters a more realistic, dimensional look.

4. After letting the acrylic paint dry for at least an hour, I poured on the Envirotex Lite. I spread it over the countertops with a large putty knife. It was easier, and harder, than I thought to do this step. It was easier to spread than I thought, but it was harder to make sure every surface was covered evenly. I found a couple small patches near the walls that I had missed while doing this at 1:30 AM! This had to cure for at least 3 days before using. It’s also recommended not to set small appliances back on the countertops until after one week. We’re almost there! I can’t wait to have full functionality of my kitchen again!
This is definitely high gloss stuff! It brought out the colors and the subtle shimmer in the black paint instantly! I really love the overall look, but the high gloss emphasizes mistakes, too!

5. After the sealer cured, I removed the painter’s tape. I had my husband help with a box cutter because the Envirotex made it difficult to remove the tape evenly. I mildly freaked out after the tape was removed, but after spending a couple hours touching up the walls with a little paint and a small brush, the finished product was MUCH better!

Not a bad upgrade for a total cost of about $60! I bought the Envirotex at Michaels with a 40% off coupon. It typically runs about $30 for 32 oz. I also scored some of my acrylic paints at Michaels for 34 cents! They were on sale for half off last week! I probably could have spent less if we had already had some basic supplies on hand, but I needed a 4″ roller, plastic drop cloths, and vinyl gloves, etc. The gloves were a must! The Envirotex is sticky and it kept all the paint off my hands while sponging! I probably went through like five pairs during the whole process!
So, was I completely crazy to do this? At various times I thought I was, but overall I’m happy with how my countertops turned out!

This article is part of my Keep Your Change series! For more money saving posts, click here!
Tags: countertops, DIY, faux granite, Keep Your Change, kitchen upgrade


 I love this